1-BEGINING
Click on "Generate Model SetCard" menu button.

2-FILL IN THE INFORMATION
"*" marked infos are mandatory.In this step all of characteristics,at least first 5 of photos and "Copyright Owner" confirmation are all mandatory.Although other parts are not mandatory, it is recommended to fill all parts completely for specializing your SetCard.
Checking Privacy confirmation box is not necessary.If you confirm privacy , your setcard can be use by modelsetcard.com in examples,it also can be shared with
model agencies.
After you fill in all informations click "Generate Card" button.

3-EDITING CARD
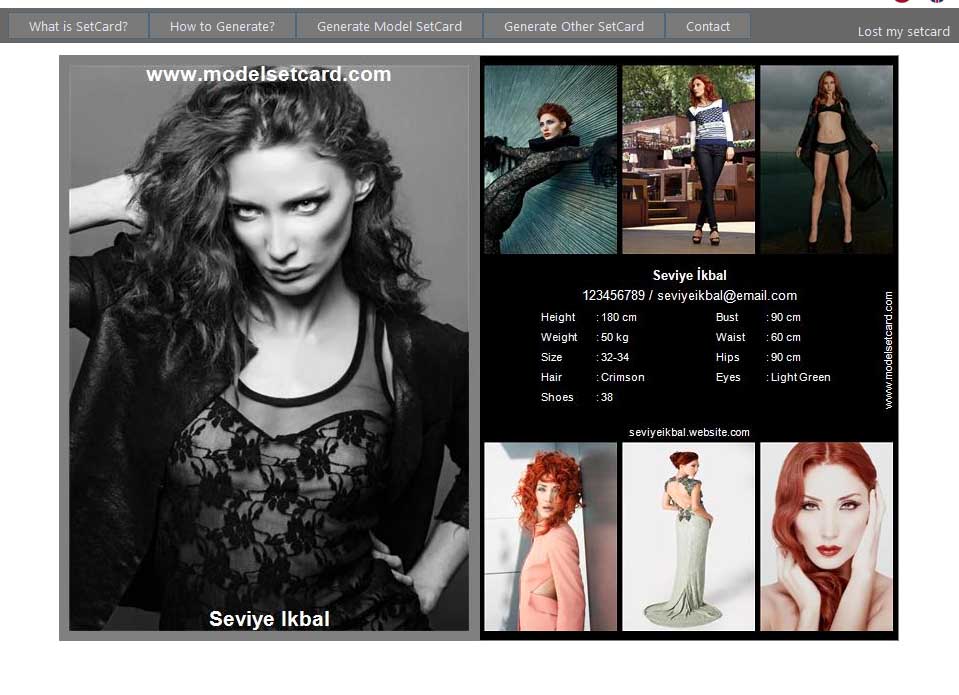
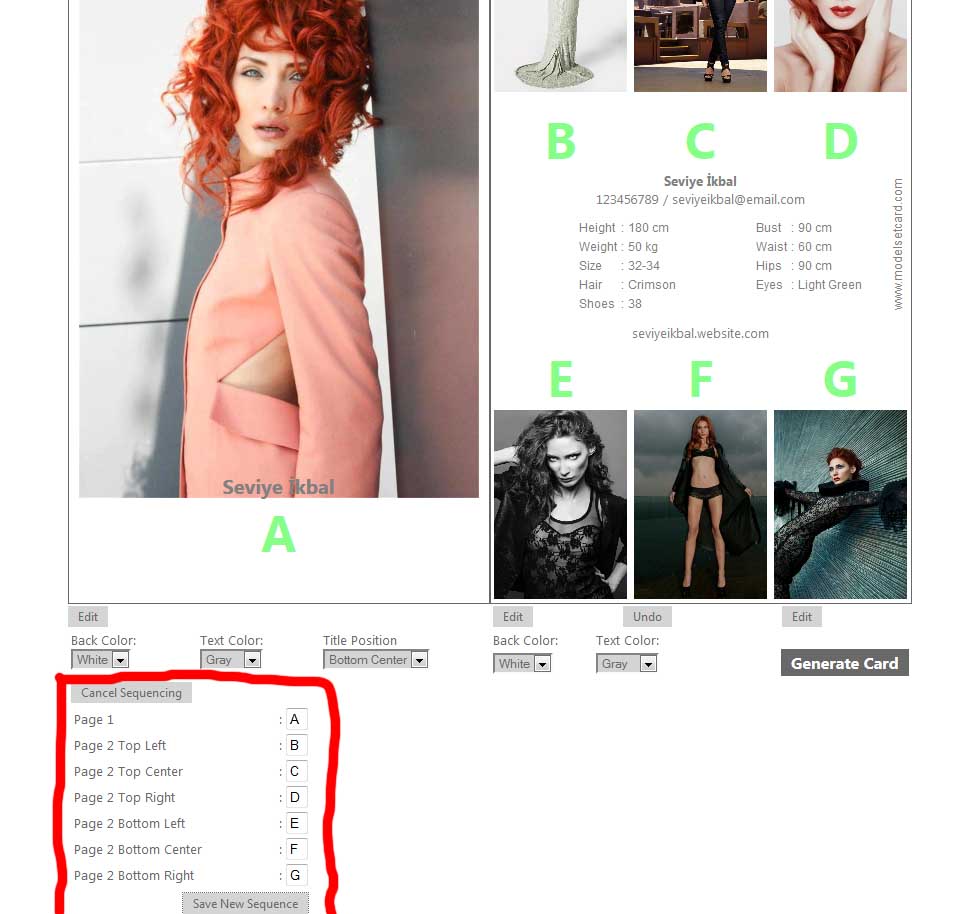
After filling in all necessary informations you will be redirected to card editing page.This is the page for editing background color and text color,resizing ,croping and sequencing your images.When your card is generated first time,all photos will be placed according to your upload order and will be resized according to their sizes.
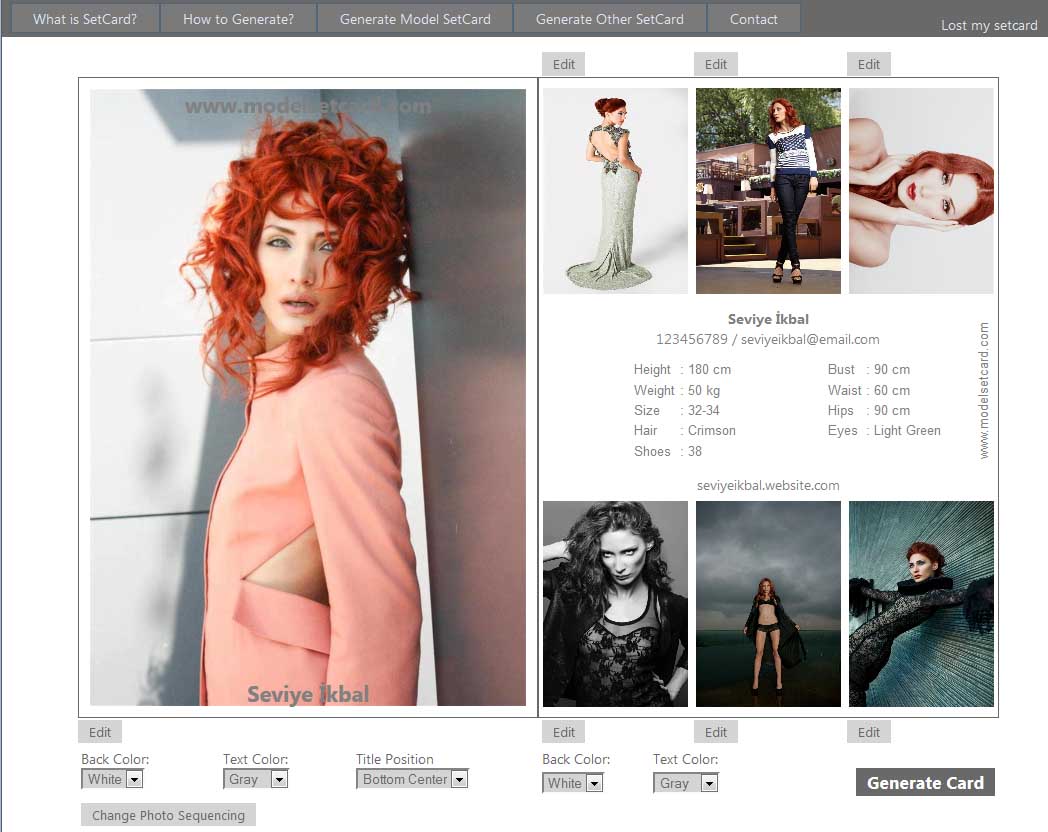
Let's check what can we edit and what should on the top picture.
a)Second page top-right picture placed as vertical although it is horizontal.We should rotate it.
b)Second page bottom-center picture photographed less detailed, so it would be better if we could give it more detail.
c)We can change sequencing so that we may get better colour harmony
d)And changing background colors may work too.
e)Then we certainly want to change text colors for more visibility.
Solutions
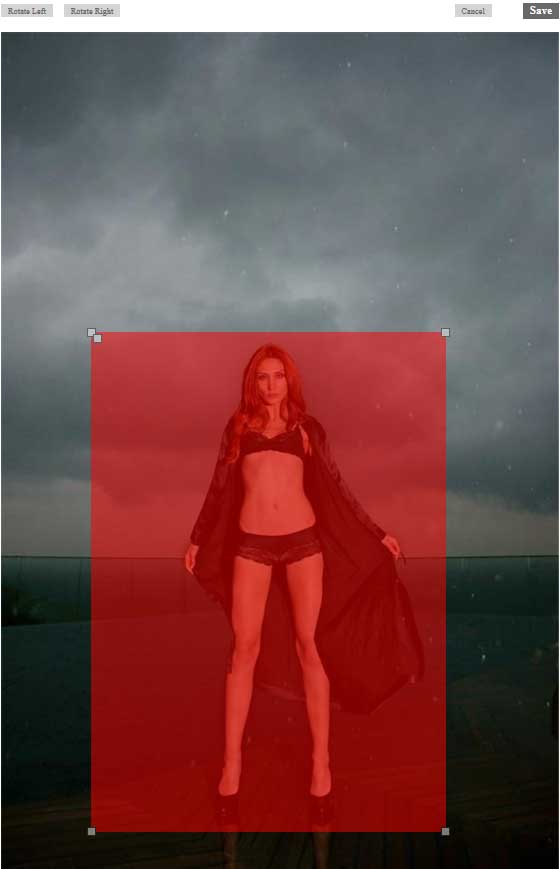
a)Rotating Image : Click the "Edit" button upside of the top-right picture.Then we will be redirected to wider editing screen.
-First click "Rotate left"
-Then select which part of picture you want to crop and click one of the "Save" buttons.
-
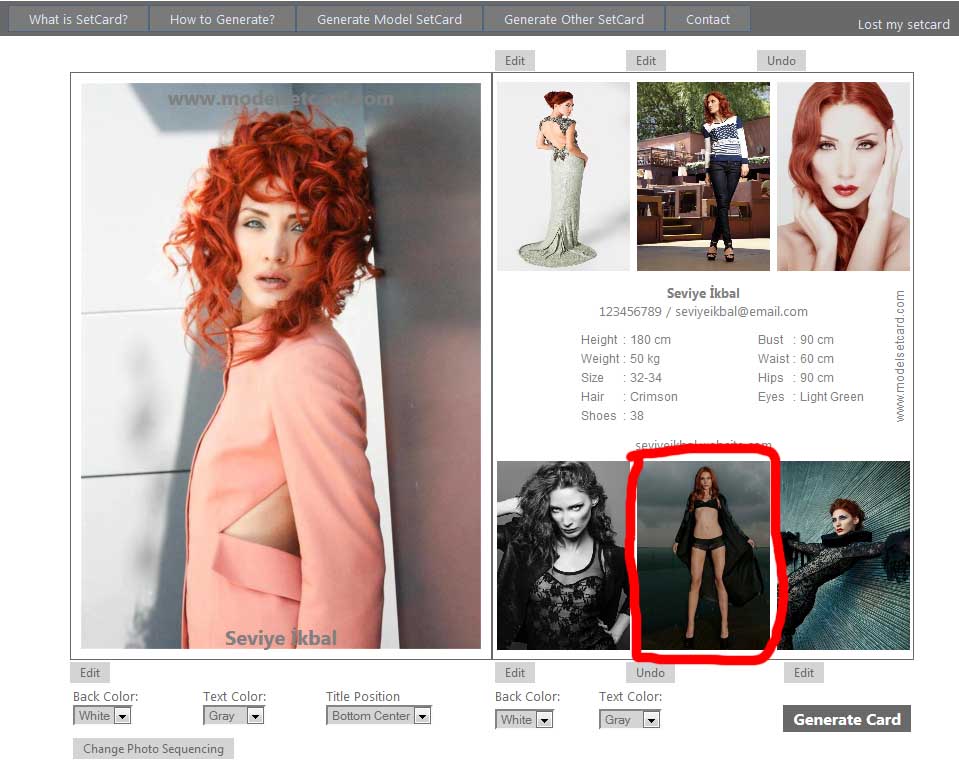
After we redirect back to editing page ,we can see vertical picture fit perfectly this time.
-
As you realized there is also one other replacement happened here."Edit" button has gone missing and "Undo" button has come as replacement.By clicking "Undo" button you admit that you made a big mistake when croping image and you want your original image back.Of course no mistake made this time, so let us skip clicking "Undo".
b)Detailing Photo:By clicking edit button at bottom side of related image we can choose the part that can be more detailed.Clicking save button we get more detailed photo.
 |
 |
c)Change Photo Sequencing:
-When we click "Change Photo Sequencing" button at left bottom side , page becomes to be like below image.
-We will make sequencing changes in the change sequence panel at below picture.When
we look closer we see that 7 letters come in order,like first picture in first
page has "A" letter, top-left one has "B" letter.
-Let's think simply,if we want to change places of two pictures,replacing
letters of both will work.So we simply replace A and B , to set top-left image
as cover photo,and set cover photo as top-left one.We can sequence all pictures
by this way.Just replace two letters,click save and click change sequence
again to make another replacement.
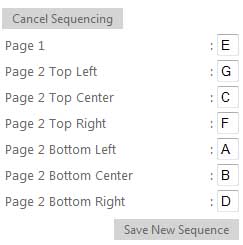
-Another way to sequence all photos at one time is using position infos.In this
example we're choosing the hard way and sequencing all photos at one time like
below.
-After all letter set to new positions click "Save New Sequence" and examine how it
looks like.
 |
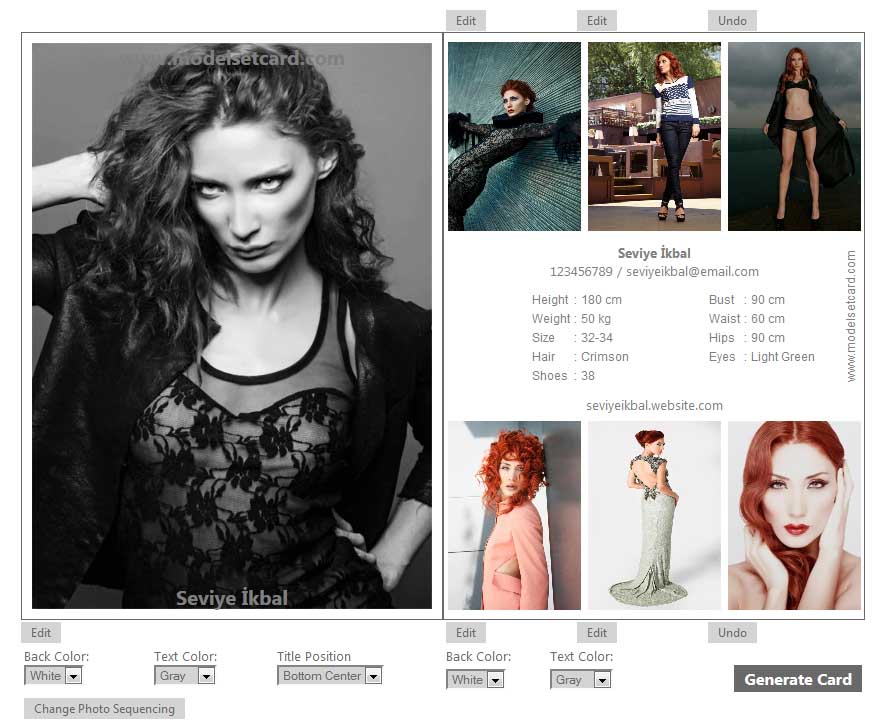 |
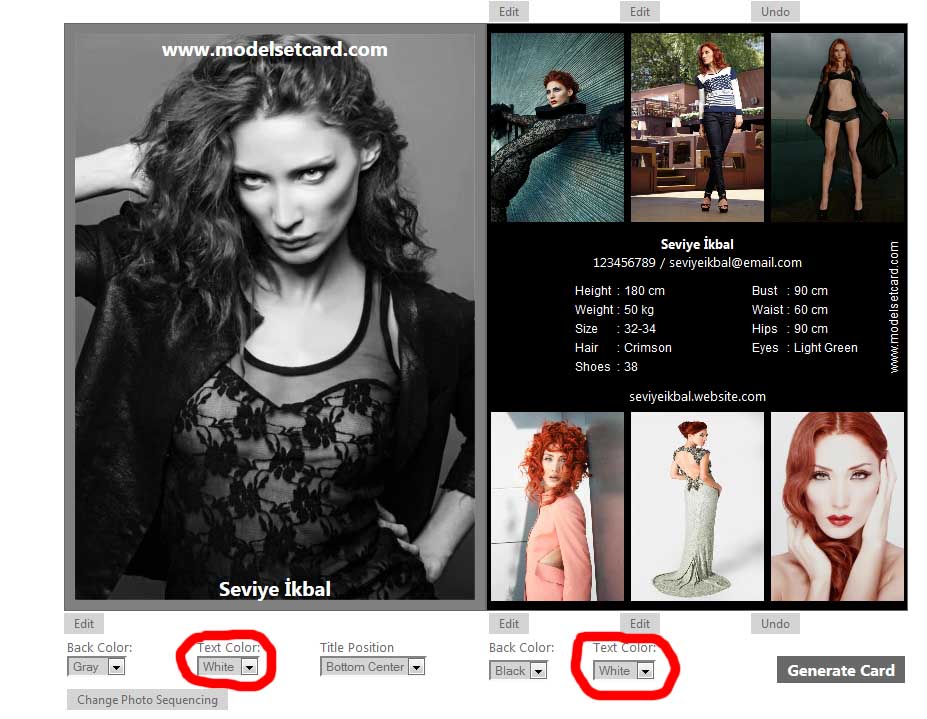
d)Changing BackGround Colors:You can set new backgorund colors by changing the
value of background color list for each pages.
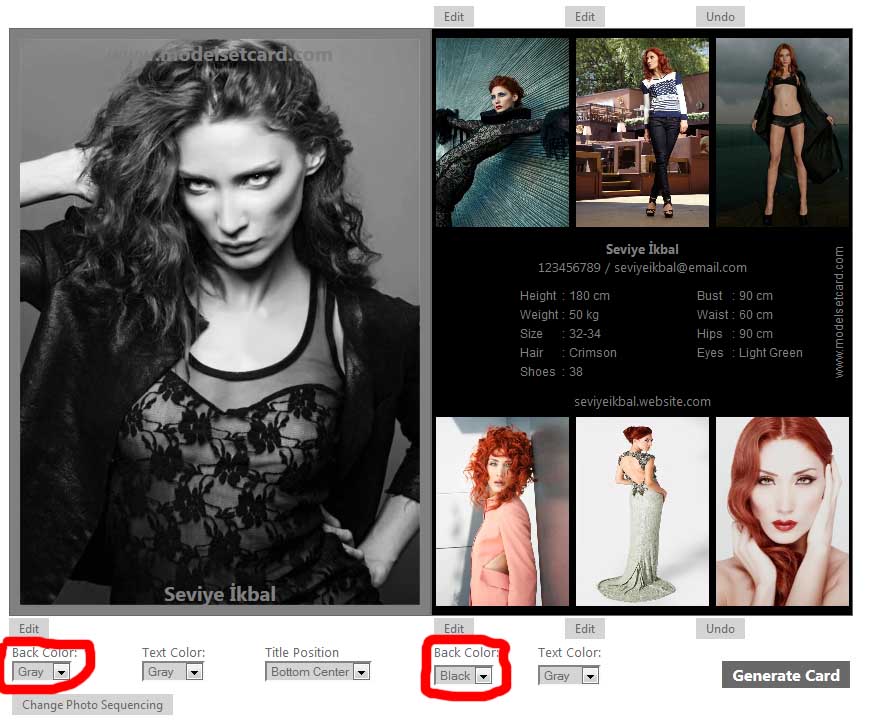
e)Changing TextColors:You can set new textcolor by changing the value of
textcolor list for each pages.
You can also change position of name info in first page ,by simply changing
value of Title Position list.We like name's position ,so we skip this
step.
4-GENERATING SETCARD
After completing all necessary edits , we can click "GENERATE CARD" button to
complete our survey and generate our setcard as image.
From now on you can save your setcard as image.As because you had checked "I'am
Copyright Owner" at fill in infos step you are free to use and share your
setcard.